How to install the Armadillo library
Why use the Armadillo library?
I am currently facing a challenge that involves building, from scratch, a C++ code that implements the KNN algorithm along with the LBP feature extractor. During development, I realized the need to perform various mathematical operations and remembered a library frequently mentioned in books: Armadillo (yes, the name reminds me of a character from an old book, but I can’t recall which one).
Since I found little up-to-date material on how to set up this library, I decided to create this post to share a step-by-step guide.
How to install the Armadillo library
1. Download the library
Go to the official Armadillo website: https://arma.sourceforge.net/ and download the latest stable version.
Before proceeding, you need to install some auxiliary libraries. To do this, run the following command in the terminal:
1
sudo apt install cmake libopenblas-dev liblapack-dev libarpack2-dev libsuperlu-dev
2. Extract and compile
After downloading, extract the file and follow the steps below to configure and install the library:
1
2
3
4
5
tar -xvf armadillo-14.2.2.tar.xz
cd armadillo-14.2.2/
./configure
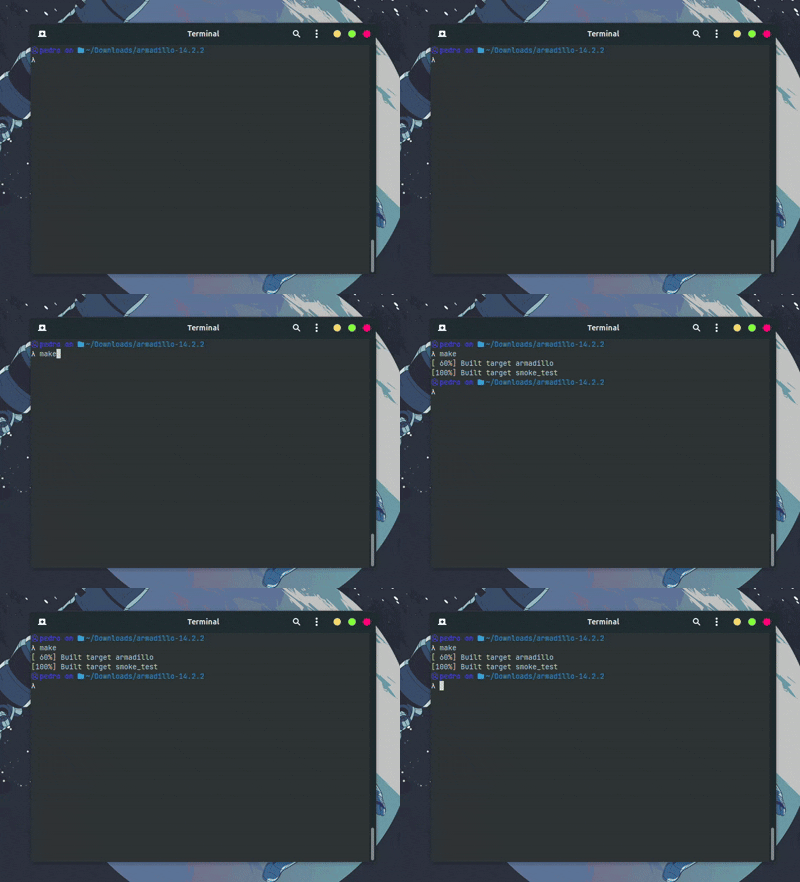
make
sudo make install
Testing the installation
To verify that everything was installed correctly, follow this practical example:
1. Create a test environment
Create a new folder and open Visual Studio Code (or your favorite editor):
1
2
3
mkdir test
cd test
code .
2. Configure CMake
We’ll use CMake to manage the build process. Create a file named CMakeLists.txt with the following content:
1
2
3
4
5
6
cmake_minimum_required(VERSION 3.10)
project(arma_test)

find_package(Armadillo REQUIRED)
add_executable(arma_test main.cpp)
target_link_libraries(arma_test PRIVATE armadillo lapack blas)
3. Create the test code
In the same folder, create a file named main.cpp with the following code:
1
2
3
4
5
6
7
8
9
10
11
12
13
14
15
16
17
18
19
20
21
22
#include <iostream>
#include <armadillo>

int main() {
    using namespace arma;
    mat A = randu<mat>(3, 3);
    vec b = randu<vec>(3);
    std::cout << "Matrix A:" << std::endl
              << A << std::endl;
    std::cout << "Vector b:" << std::endl
              << b << std::endl;

    vec x = solve(A, b);
    std::cout << "Solution to the system Ax = b:" << std::endl
              << x << std::endl;

    vec error = A * x - b;
    std::cout << "Error (A * x - b):" << std::endl
              << error << std::endl;

    return 0;
}
4. Compile and run
Compile the code using CMake:
1
2
3
cmake .
make
./arma_test
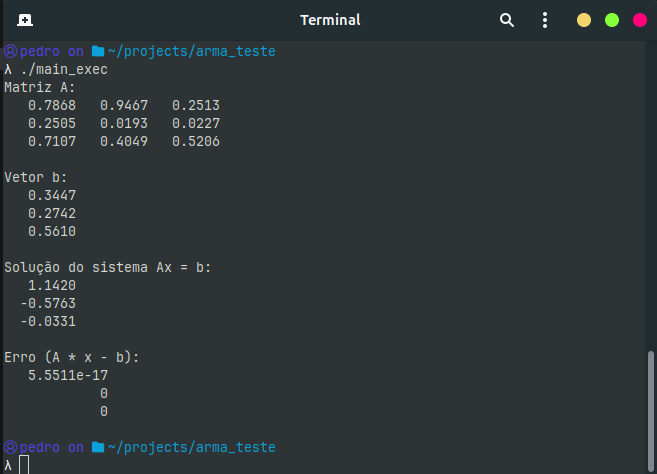
If everything was set up correctly, you will see the matrix A, the vector b, the solution x, and the system error.
I hope this tutorial was helpful! If you have any questions or suggestions, feel free to leave a comment.
Keep learning,
Pedro ;)

